 Antonio Perez
Data Security with Flex2SQL and BTR2SQL Connectivity Products
The most common reason for Enterprises looking to migrate from legacy Btrieve or DataFlex databases is the urgent need to address security and...


Migrate and run DataFlex applications with Oracle, MS SQL Server, PostgreSQL, MySQL & MariaDB.

Stuck in Crystal XI? Upgrade and use the latest versions of Crystal Reports with DataFlex applications.
Seamlessly convert from Btrieve transactional database to PostgreSQL, Oracle, and MS SQL Server.

Quickly build multi-protocol web services with the same API. Supports JSON-RPC, REST, SOAP, Thrift, and gRPC.


Thriftly is a suite of tools designed to help you build, test, and publish a .NET web API that simultaneously handles multiple protocols. Your .NET API will support any client that can make calls in SOAP, REST, JSON-RPC, Thrift Binary or Thrift Compact through HTTP or TCP/IP socket transports without any changes to the existing codebase. All you need to do is write your C# function, and Thriftly will handle the rest. No need to dive deep into
Before we get started with Thriftly, you will need to create a Thriftly.io account, download the development version and request a trial license. If you haven’t installed Thriftly, follow the Installing Thriftly Developer [Guide] to register your license in Developer Assistant.
NOTE: A robust C# Thriftly example application is included with your Thriftly installation at C:\Users\{USER}\Documents\Thriftly
If you would still like to see more examples, please review
Please make sure you are running Visual Studio 2010 or later.

Creating a new C# console application

Adding the Thriftly DLL into your project
Now that we have our project established and a reference to the Thriftly DLL, we will need to initialize the Thriftly Server object in the main program.cs class. The Thriftly Server object organizes your API classes as services.
In the following code sample, you will see a web API service that will manipulate strings. The StringService() object is where our API logic lives, and we are adding that class to be published by Thriftly. Later you will see how Thriftly can publish the API privately or publicly.
using Thriftly.Server;

namespace ThriftlyHowTo
{
    class Program
    {
        static void Main(string[] args)
        {
            // Instantiate Thriftly Server
            ThriftlyServer thriftlyServer = new ThriftlyServer();
            // Add API Services
            // Service Name assigned
            thriftlyServer.AddService(new StringService(), "StringService");
            // Start Thriftly Server
            thriftlyServer.StartServer();
        }
    }
}
Now that we have setup the Thriftly Server, we are ready to define our service class. Add the new service class to the project by following these steps.

Adding a Thriftly Service Class
We will modify the auto-generated class template to what is shown below. The StringService class uses the reference to Thriftly Server to allow us to use the [Publish] annotation that appears above the Join and ToUpper function, which tells the Thriftly Server that we want to publish these functions as APIs.
using System;
using Thriftly.Server;

namespace ThriftlyHowTo
{
    public class StringService
    {
        [Published]
        public string Join(string string1, string string2)
        {
            if (string1 == "")
            {
                throw new Exception("string1 must be defined");
            }

            if (string2 == "")
            {
                throw new Exception("string2 must be defined");
            }

            return string1 + " " + string2;
        }

        [Published]
        public string ToUpper(string string1)
        {
            if (string1 == "")
            {
                throw new Exception("string1 must be defined");
            }

            return string1.ToUpper();
        }
    }
}
At this point, we have a very primitive string API service that has two published functions. The Join function takes two parameters and returns the concatenation after a bit of error handling. The second published API function, ToUpper, takes a string and converts it to uppercase. We can start the Thriftly Service by clicking the Start button or by pressing F5.
The Thriftly Developer window will appear once your service has started. Here you can choose the transport method, the default protocol, and encoding that meet your needs. You can change any of the settings by stopping Thriftly.

Thriftly Developer
We will start Thriftly with the gateway enabled, so after clicking the 'Enable Gateway' option, select the region closest to your location for better performance. We will continue with the default JSON-RPC through HTTP as our settings.
When you click the 'Start Thriftly' button, your default web browser will automatically appear with the Gateway Address loaded. The Gateway Address is the API specifications that can be shared with a developer. In order to test the API, copy the ‘Location’ URL in a new tab or follow the ‘Test API’ link to the Gateway Endpoint URL. This public URL will allow clients to access the API running locally on your machine from anywhere. No network configurations or code changes required!

Thriftly Gateway
If you start Thriftly without a Gateway enabled, the Thriftly API will only be accessible through your chosen port on your localhost.
When you follow the 'Test API' link, you will be taken to a custom APEye interface that provides a simple GUI for testing your published API functions. Since we started the Thriftly Developer in JSON-RPC, the APEye interface will automatically load a request and response interface through JSON-RPC. Read the Testing Your Thriftly Application guide for more information.
Since our API is running, we can take advantage of Thriftly's built-in support for Microsoft's Azure API Management to add additional layers of control and monitoring. A Web Application Description Language (WADL) file by appending '?wadl' to the end of the URL. This parameter will generate the necessary structure that can be used by the Azure API management tool to import your API. For more information please read this section regarding Azure API Management
Thriftly allows you to focus on the thing that matters, your business logic. When using the Thriftly Gateway, there is no need to worry about firewall or network settings when publishing your API. You can put your mind at ease that your application will simultaneously handle the most trusted protocols without any additional code changes.
When you are happy with the way your API is running, the next step is to deploy the API to production by setting up the full Thriftly Deployment Server on a dedicated machine.
Installing Thriftly Developer [Docs]
.NET Developers API Guide [Docs]
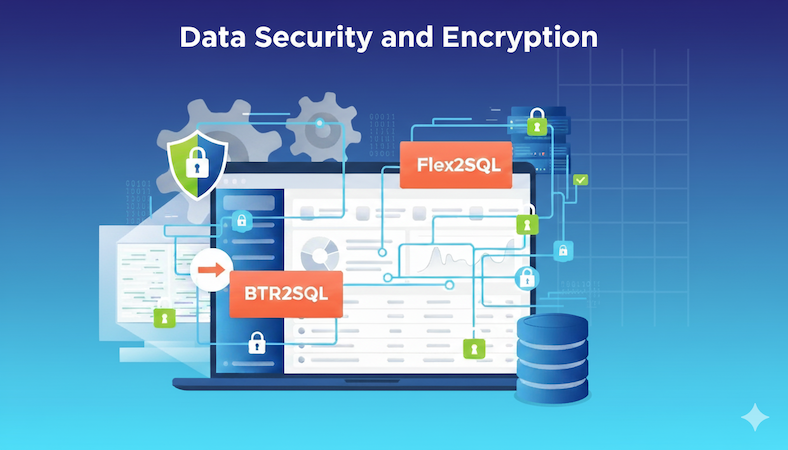
The most common reason for Enterprises looking to migrate from legacy Btrieve or DataFlex databases is the urgent need to address security and...

Introduction Many independent software vendors (ISV) and corporate users still rely on applications that use a category of database collective called...

COBOL applications are the foundation of numerous essential business functions, especially within the banking, insurance, and government sectors....